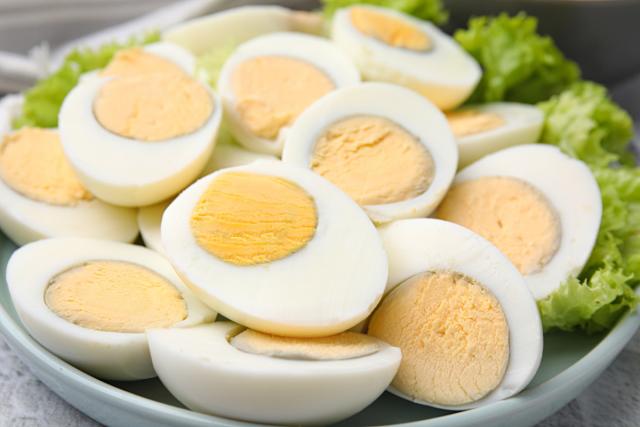
You’ve just made hard-boiled eggs for your salad—and then, surprise! A green ring appears around the yolk. It’s a common kitchen quirk, but definitely not the kind of garnish anyone wants. Even if you followed the recipe perfectly, why does this pesky discoloration keep showing up? More importantly, how can you stop it without turning into a Michelin-star chef?
Let’s crack the mystery and serve you the secrets to perfectly cooked, picture-perfect hard-boiled eggs every time.
The Culprit? A Surprising Chemical Reaction
That telltale greenish ring isn’t a sign of a bad egg or a cooking fail. It’s actually a harmless chemical reaction between the iron in the yolk and the sulfur in the egg white—triggered by overcooking. This reaction forms a thin layer of iron sulfide around the yolk. While it’s completely safe to eat, the dull green ring can be an unappetizing sight.
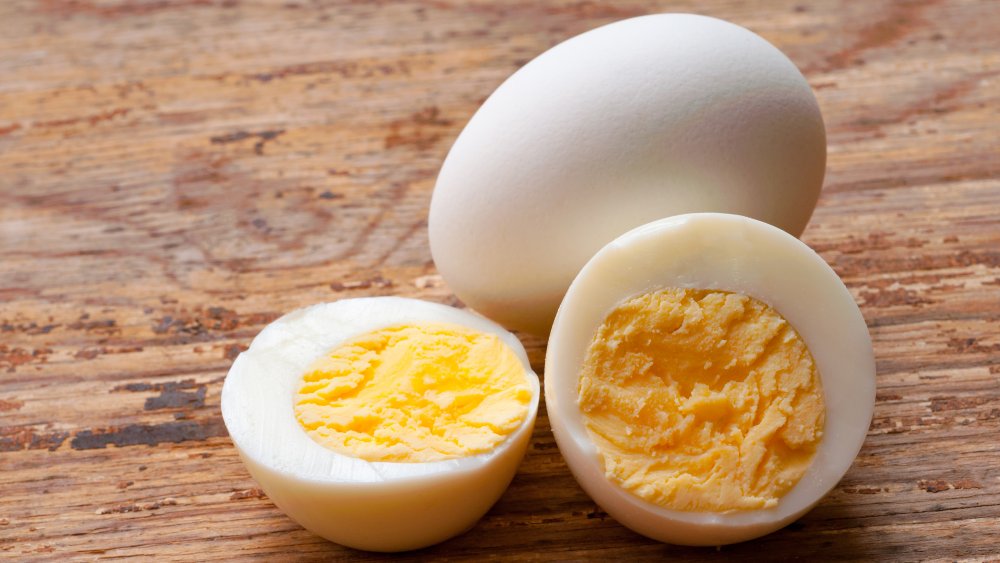
The good news? With just a few simple tweaks to your cooking routine, you can say goodbye to the green ring—and hello to perfectly tender yolks.

The Foolproof Method for Perfect Hard-Boiled Eggs
Start cold.
Gently place your eggs in a single layer at the bottom of a pot—no crowding! Then, cover them with cold water, making sure there’s about 3 to 5 centimeters of water above the eggs.
Heat slowly.
Set the pot over medium heat and bring the water to a gentle, obvious boil. The moment you see bubbles rising, turn off the heat—no need to keep boiling!
Let time work its magic.
Cover the pot and let the eggs sit in the hot water. This gentle cooking process ensures tender whites and creamy yolks—without the dreaded green ring.
Cover the pot and let the eggs soak in the hot water for 9 to 12 minutes, depending on their size.
For a slightly soft, creamy yolk, 9 minutes is just right. If you prefer a fully firm yolk, let them rest for up to 12 minutes.
Quick chill for perfect results.
While the eggs are resting, fill a bowl with ice water (or very cold water if ice isn’t available). As soon as the time’s up, plunge the eggs into this icy bath. This rapid cooling halts the cooking instantly, keeps that green ring at bay, and makes peeling a breeze!
Peel like a pro.
After about 5 minutes in the ice bath, gently peel the eggs under running cold water. The shells will slide off smoothly—no frustration required.
Bonus Tips for Hard-Boiled Eggs That Impress
Avoid the biggest peeling pitfall:
Surprisingly, the freshest eggs aren’t always the best for boiling. Eggs that are about 5 to 7 days old peel more easily and give you better results.
Add a little magic to the water:
A pinch of salt or a splash of vinegar in the boiling water helps prevent shells from cracking—and makes cleanup easier if they do.
Storage secrets:
Keep your hard-boiled eggs in their shells in the fridge for up to a week. Once peeled, enjoy them within 2 to 3 days for the best taste and texture.
The real secret? Perfect timing.
No need to overcomplicate it! The key to avoiding that pesky green ring is simple: don’t overcook your eggs, and chill them right away. Master this easy habit, and you’ll have hard-boiled eggs that look stunning and taste even better—every time.